Pitching the right amount of yeast is one of the most important elements in making homebrew. Both over and under pitching can affect the beer’s flavor and overall quality, so it’s important to get it right. But what happens if you need to add more once the fermentation process has started?
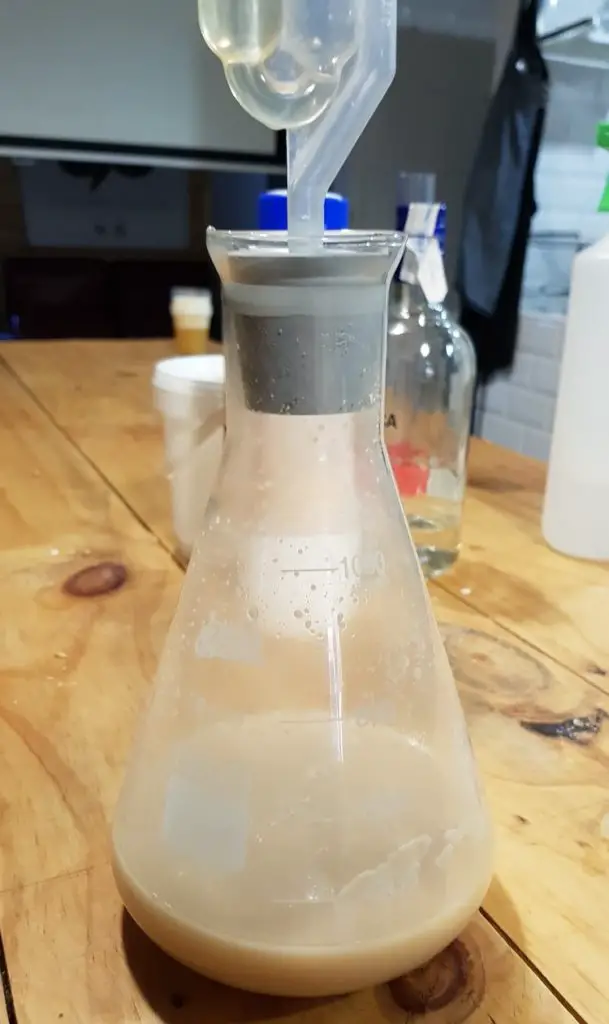
It’s possible to add more yeast to a homebrew once the fermentation process has started. The most foolproof way to do so is to make a starter with a neutral-flavored yeast and add it during the primary fermentation.
Pitching more yeast isn’t always the answer when it comes to saving a brew, though. Here, we break down how to tell when you need to pitch additional yeast and when there might be another solution.
Reasons to Add More Yeast
If you’ve checked your fermenter and aren’t seeing signs of fermentation after a day or two, you might need to add more yeast.
The following are common reasons for adding more yeast to a homebrew.
1. Underpitching
The most obvious reason to add yeast to a homebrew is knowing that you underpitched, to begin with.
Maybe some spilled while you were adding it to the wort, or you ran out mid-process, or maybe you realized after the fact that you miscalculated the amount you needed.
Regardless of the reason for underpitching, the sooner you realize your mistake, the sooner you can correct it.
Underpitched brew takes longer to ferment, making it more vulnerable to spoilage.
It also causes the yeast to work harder, resulting in harsh flavors in the finished product.
Overpitching, on the other hand, is less of a problem but can result in a loss of flavor.
Make sure to use a pitch rate calculator next time, to save yourself the trouble of having to repitch after the fact.
2. Low Yeast Quality
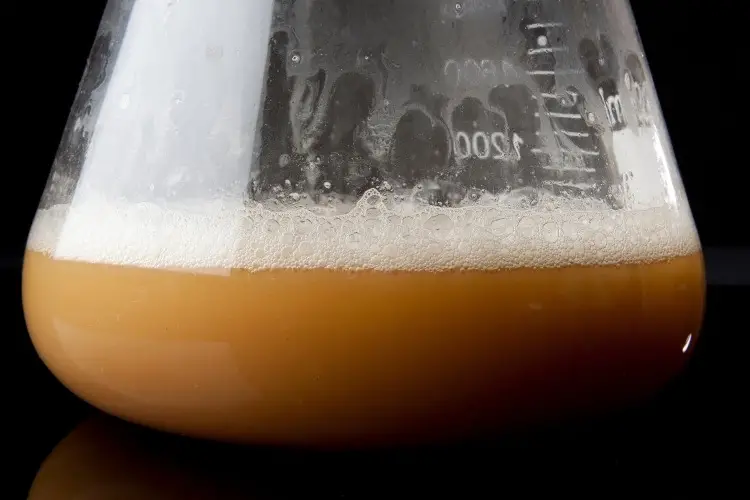
Signs of fermentation include bubbling and a layer of foam, called a krausen, on top of the wort.
If there’s no sign of fermentation after 24 hours, it might be a sign that the original yeast was of poor quality.
Yeast is a living fungus and needs to be stored properly in order to stay alive.
Make sure to check expiration dates and store according to directions, either in the fridge or in a cool, dark place.
If you suspect that there was something off about your yeast quality, adding more makes sense.
In the future, make sure to rehydrate dry yeast with plain warm water before pitching, then add some sugar to make sure they’re still alive.
If using liquid yeast, growing it in a starter will increase the odds of initial success next time.
3. Pitching at the Wrong Temperature
Pitching your yeast when the wort is too hot or cold can kill off much of the yeast, resulting in off-flavors and under-fermentation.
It’s easy to forget, but yeast is a living organism, and the shock of moving from one extreme temperature to another can kill it pretty easily, depending on the type you’re using.
If you pitched at a higher or lower temperature than usual and are noticing a sluggish start to the fermentation, pitching more yeast may offset some of the damage by replacing the dead yeast.
4. Not Enough Oxygen
Yeast needs oxygen to reproduce, so if the wort wasn’t aerated properly, to begin with, they might not have enough air.
This will result in delayed, slowed, or stalled fermentation until the yeast is given enough oxygen to utilize.
Re-oxygenate the wort by physically swishing the fermenter to allow air into the wort, or by using pressurized air.
Once you’ve re-oxygenated, repitch with more yeast.
5. Final Gravity Is Too High
If the brew’s gravity is too high at the end of the primary fermentation, it will result in a beer that’s too sweet.
Adding more yeast to the wort will help reduce the gravity to a desirable level.
How to Add More Yeast
If you need to add more yeast to a batch that’s underway, it’s generally best to do so during the primary fermentation.
Make a starter and get the yeast actively fermenting, which usually takes 24-48 hours.
This helps make sure it will survive and thrive once it’s added to the fermenter.
If fermentation has started but has slowed or stalled, introducing new yeast without first using a starter can kill them, since the wort will be high in alcohol and low in sugar by this point.
Make sure you always have a starter on hand when brewing, to reduce lag times while you make one in order to save a batch that’s not fermenting properly.
Add the starter to the fermenter once it’s ready, and continue the fermentation process, as usual, checking the gravity to see when it’s done fermenting.
When Adding More Yeast Isn’t the Answer
As mentioned earlier, adding more yeast isn’t always the answer when it comes to solving fermentation problems.
Below are common problems that can be fixed in other ways.
1. It’s Too Cold
Sometimes the reason behind a sluggish fermentation is as simple as brewing in a location that’s too cold.
Try moving the fermenter to a warmer spot and see if that kick starts the fermentation process.
2. Flocculation
Flocculation is a fancy word that just means that the yeast is sticking together and hanging out at the bottom of the fermenter rather than doing its job.
If fermentation is moving too slowly and you see more clumps of yeast along the bottom than usual, try swishing the fermenter around to stir the yeast back into the wort.
Depending on the type of yeast you used, you may have to do this regularly throughout the process.
3. Improper Sanitizing Procedure
Depending on the sanitizer you use, you usually have to let it dry or rinse it completely before you begin a batch, so the residue doesn’t kill the yeast.
4. Problem with the Airlock
If your batch isn’t bubbling, it’s a good idea to check the gravity to make sure it definitely isn’t fermenting.
Occasionally, lack of visual cues such as bubbling point to an airlock that’s leaking or not properly sealed.
Usually, this won’t affect the fermentation process, but it’s a good idea to get it taken care of before your next batch.
Secondary Fermentation
For the most part, by the time the secondary fermentation takes place, the actual process of fermentation should be complete.
Naturally, this can be confusing to new brewers, since the name seems to imply a re-fermentation.
In actuality, the purpose of the secondary fermentation is to remove sediment that may change the beer’s flavor as it ages.
Using a secondary usually results in a clearer beer.
However, it’s not necessary, and many brewers choose not to use a secondary.
They cite the following:
- Possibility of oxygen introduced during the transfer
- Possibility of contamination, even with sanitation procedure
- More effort and time to sanitize everything
Repitching During Secondary Fermentation
If you’re adding yeast because of a problem with the brew, it’s usually best to do so during the first fermentation, as mentioned above.
However, some specific recipes do call for adding more yeast during the second fermentation.
On the rare occasion that this happens, it’s usually a champagne yeast that can survive the high alcoholic environment.
This leads to champagne-like carbonation in the final product.
Final Thoughts
While there are definitely some best practices to follow when making a homebrew, it’s natural for there to be some trial and error as you’re learning.
Remember, even if something goes wrong in a batch, there’s usually a way to fix it, such as adding more yeast, introducing oxygen, or a simple change of temperature.