
After cooking beer, perhaps one of the most mundane chores in beer making, is cooling your wort (pronounced wert– raw unfermented beer).
Proper and expedient cooling is a critical step.
If we skip it, we may disrupt the 1st most critical stage of beer making, the multiplying and respiration (multiplication) of the yeast. When wort is properly and timely cooled, the yeast grows within a nutrient-rich environment and can reach its optimal cell counts and begin the fermentation process – the chemical transformation of sugar to alcohol and CO2.
Raw beer has to be cool down quickly after boiling. No more than 20 to 40 minutes is optimal. This allows the solids and hops to knock out (drop to the bottom of the kettle), the beer retains optimum O2 levels and no undesirable off-flavors will form.
Why Do We Have to Cool the Wort Quickly?
To avoid undesirable off-flavors from which your beer may never recover.
You have two main culprits here.
DMS- Dimethyl Sulfide and Diacetyl.
DMS is a natural chemical compound within the malt. If the wort sits hot for too long, 60 minutes or more, it will produce DMS.
This adds vegetable flavors to the beer, corn, spinach, even carrots. It will not be reabsorbed over time and will disrupt the flavor profile.
Diacetyl naturally forms during fermentation and is readily reabsorbed during the yeast during secondary fermentation and aging. It is even a desirable flavor for some English style beers.
That said, a prolonged hot kettle will produce excess diacetyl. It will add buttery, butterscotch, and cloyingly sweet candy flavors to your beer. The yeast will not be able to handle the excess. It will dominate the profile, throwing your beer out of balance and destroy the taste profile.
Exposure it to unnecessary bacteria
Many brew beer in kitchens or garages which is fine.
They are not optimally sanitary environments and that is OK too.
If your beer sits in the kettle too long, errant contaminates may drift in. They are around us all the time.
Tip: Minimize this risk by covering the kettle post-boil and quickly cooling.
Improperly cooled wort will cause an adverse reaction in the yeast
Here I refer to a function of temperature, not time.
We get in a hurry and do not measure our pitch temperature. Yeast does like a warm environment and will thrive, to a degree. It is an exothermic process (releases energy) and naturally heats up the beer.
So, we pitch at 13.3- 21.1° C (56-70° F). 21 degrees is an uppermost limit, as the beer will rise one to three degrees during fermentation.
The problem arises when we pitch at higher temps, say 25-27° C (75-80° F) Yes, I’ve done it! Our rationalization is the wort will cool within a few hours anyway and the yeast can use this time to really beef-up. Not so.
Fusel alcohols form that can have a harsh, spicy, hot, solvent-like flavor. They contain amyl “active” alcohol, not Ethanol, and ruin your beer.
Excessive esters will form.
Esters add a fruity aroma that form naturally in ales and may be desirable. In excess they become acidic, adding cidery green-apple flavors to accompany your already solvent flavor.
You may also experience a flash-fermentation, wherein the hot beer quickly ferments down to 50-60% attenuation and stops.
The yeast is hampered by the disrupted process, change of pH and the presence of some or all of the off-flavors mentioned above.
Cooling the Wort Fast: a Critical Step
You have an optimal window of 20-40 minutes to cool your wort.
Beer-making day is fun and games, up to this point.
Here, pause for a moment and execute quickly as it will determine the ultimate success of your day.
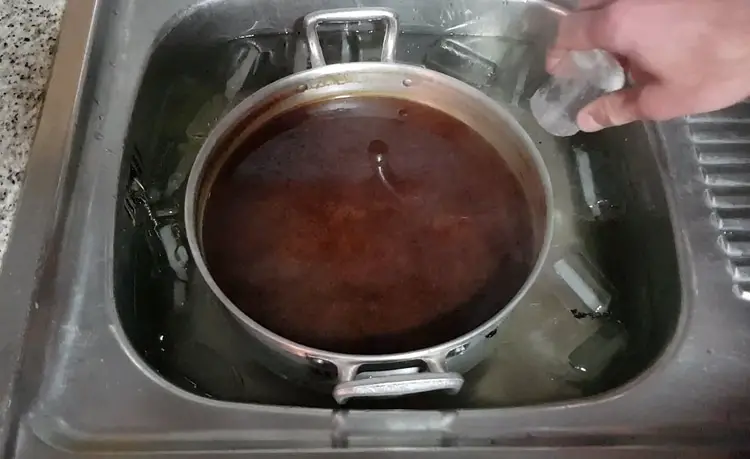
Method 1 – the Ice Bath (For Small Batches, 1-2 Gallons)
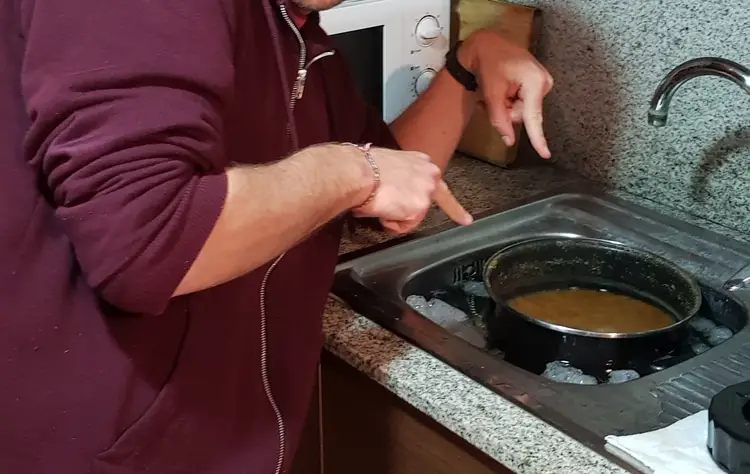
Many homebrewers from basic to intermediate will boil from 1-2 US gallons of wort on a stove-top. This is a simple and effective method of beer-making and will make good beer. Buy 2-3 large bags of ice from the convenience or grocery store on brew day.
After the boil, make a large ice-water bath in the sink or a larger vessel, perhaps a beer cooler (which will keep the water cold!) Place your kettle in the bath and steadily stir it for 1-2 minutes and form a whirlpool. This will take the solids to the bottom (any hops and leftover proteins) and knock off the first wave of heat.
After stirring, cover the pot, and leave the lid vented, to allow heat to escape. Add more ice as needed. It should be ready to pour into the fermenter within about 20 minutes. You may take a temperature with a sanitized thermometer to make sure it is down to at least 15-17° C (59-62° F).
Method 2 – Use a Cooling Coil (For Bigger Batches, 5-12 Gallons)
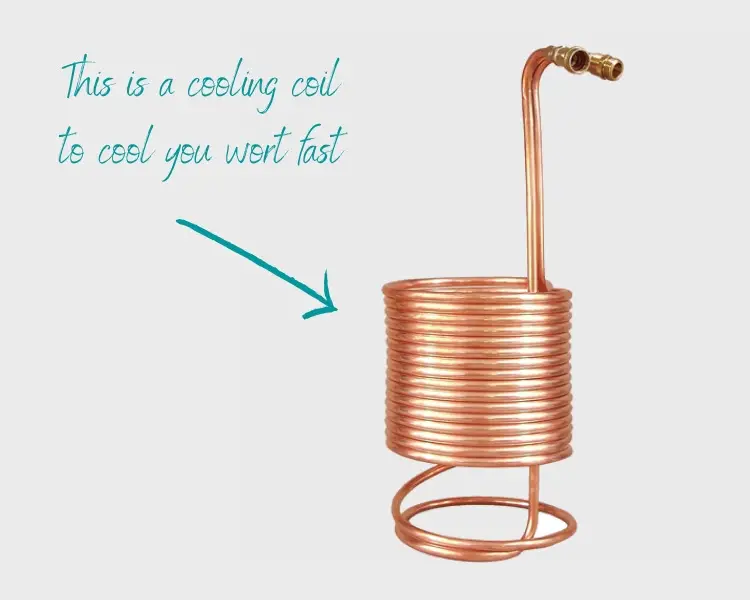
For intermediate to advanced brewers, they may choose to boil anywhere from 5- 12 US gallons of wort, depending on batch size. It is difficult to impossible to chill this wort in an ice bath. Therefore, you must purchase or build a copper coil chiller.
The concept is simple.
Place the clean copper coil into the wort and slowly run water through it. A single coil and cool well water will work for five gallons or less. A double-coil is recommended for batches of 10 gallons or more.
Again, if you have cool well-water, submerse both clean coils in the kettle and slowly run water through them. The cool water will transfer the heat within your desired timeframe, about 40 minutes.
Note: People are tempted to run high-pressure water through the coil. This allows less contact time and is less efficient.
If using a double-coil chiller, you may also submerse one coil in ice water to transfer heat faster. We recommend this if you are using city water as its ambient temp is warmer, especially in summer.
Tip: Do keep the coils clean, but you can also put them into the kettle immediately post-boil. Let the beer rest for 5 minutes. The hot liquid will sanitize the coils.
No products found.
Buy one or make one?
As your budget allows, you can buy ready-made coil chillers from homebrew suppliers. Coil chillers cost usually somewhere between $40 and $120
If you are a do-it-yourselfer, you can buy the coils from a plumbing supply store – ¼ inch inside diameter flexible copper for $10 to $20 – and make your own. You will save some money, perhaps enough to brew a batch of beer.
Method 3- Siphon Wort Directly through a Coil
This is the most unorthodox but I have seen it done, with remarkable effectiveness. A friend had a stainless steel coil he had salvaged from a food plant. He attached a vinyl hose to each end.
He was handy and had fashioned a pump to first clean the inside of the coil. We placed the carboy on the floor with about 2 gallons of cool water inside. The kettle was on the stove-top, cooled to about 77° C (170° F), the temperature at which the wort is susceptible to bacteria. The coil was submersed in an ice bath, sitting on a chair between the two.
Fill the coil with sanitary water to draw a siphon. Put one end in the wort and the other in the carboy. The wort ran through and cooled with surprising speed. It even settled to the bottom of the carboy as it was that much colder than the water! We capped the carboy and vigorously shook it to mix the wort with the water.
Whatever method you choose, do not worry too much, but do take it seriously and give it your best effort to cool quickly. Read on for more about the importance of a strong boil and deleterious effects of a slow cooling.
In Conclusion
If there is one time in brewing where you must hurry a little, wort cooling is it. 20 – 40 minutes is best. It is easy, it just takes a bit of patience.
Overall, take your time, and enjoy the process. Understanding the underlying reasons for fast wort chilling will help you better understand the fermentation process, where the real transformation occurs.
[email-subscribers-form id=”2″]
Last update on 2026-07-26 / Affiliate links / Images from Amazon Product Advertising API