
Yeast is often an overlooked and underappreciated component to our passionately created homebrews.
Dry yeast is a smart and simple place to begin when first making beer. It has its merits and limitations.
Dry yeast offers a reliable fermentation media and while already resilient, rehydration helps to kickstart it. It adds more volume to the pitch and the yeast readily disperses into the raw wort, quickly moving into the respiration stage. Fermentation begins all the more quickly.
So yes, do hydrate your yeast. “Aw, do I have to?” No, you do not.
It will, however, up the chances of faster cell growth and a successful vigorous primary fermentation.
Benefits of dried yeast
There are several quantifiable benefits to using dry yeast.
It is the starting point for most beginners and that is 100% fine.
- Rip, pour, close the lid.
- Can survive room temperature, even the freezer!
- Cheaper than liquid forms.
- Hydrated, it performs as well or better than liquid cultures.
Hydrated, it performs as well or better than liquid cultures
I will start with number 4. Let’s get to the heart of the matter before moving on.
Hydrating yeast dramatically improves its performance.
When making dry yeast, a liquid living culture is mixed with minerals, nutrients, and salts, then dehydrated.
The cells remain viable while in storage.
A dry yeast cell itself enters a sort of dormancy.
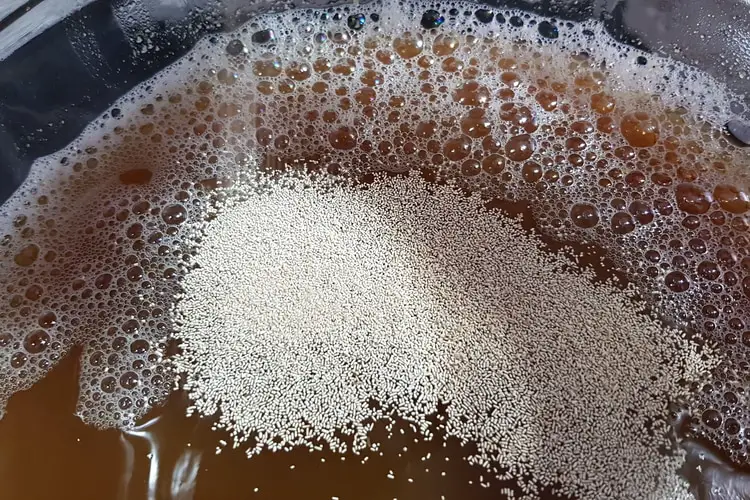
When poured (pitched) into beer, it needs to multiply to begin fermentation.
It consumes all available O2 in the beer. It respires and multiplies.
The wort is an aerobic environment at this point and fermentation has not begun.
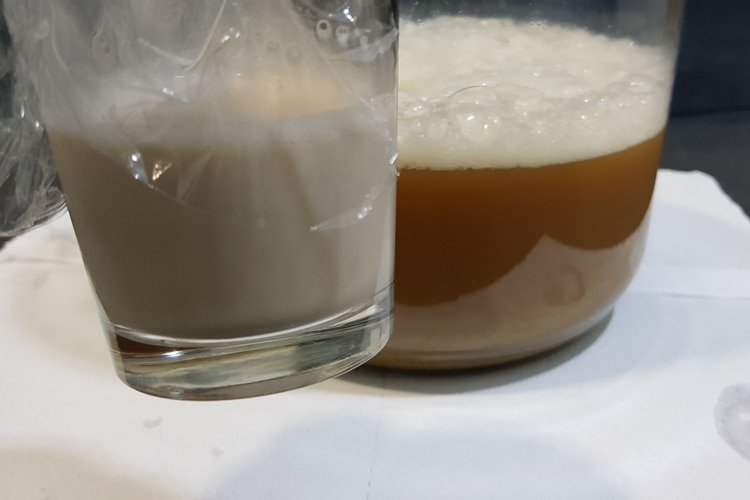
If you hydrate the yeast, it has already woken up, and begins to multiply before pitching.
Thus, instead of pitching about a tablespoon or less of dry granules, you are pitching a slurry of liquid, of activated awoken cells.
The pitch itself could be 4 – 6 liquid ounces which rapidly disperses into the wort dramatically facilitating the respiration process.
Rip, pour, close the lid
Ease of use is the best argument for using dry yeast.
Many homebrewers are hobbyists and brew perhaps 6 batches a year of serviceable, tasty beer.
Homebrewing is not just fun but will save you money. And more power to these enthusiastic hobbyists.
I was one of them in the early days.
Pour it on in there, things will turn out OK.
Look at the section, Breaking down your batch of beer, ingredients and packaging, in the article: Homebrewing on a Budget: 7 Tips to Saving Money.
Can survive room temperature, even the freezer
Yes, it can be stored at room temperature. Refrigeration is better and highly recommended.
I don’t know if they still do it, but beer kits used to come with the yeast neatly tucked under the lid.
The kit may have been sitting on a shelf for months or years.
Always buy a new fresh packet.
Regardless of how long the kit yeast has or hasn’t been sitting around, quality yeast from a yeast lab will be better.
Dry yeast is cheaper
There are more varieties than ever on the market. While some dry yeast can cost $6 – 7, others are still around $2.50 – 3.00 per use.
My recommendation, you get what you pay for.
Therefore, choose a mid to high priced product.
It is worthwhile in the long run.
Time is a key element of successful fermenting
Respiration under these circumstances – hydration – can last as little as 4- 6 hours.
Pitching a dry satchel only, it could last 8 -12 hours.
This may not be an issue.
As a rule, the faster the start of fermentation the better.
- Beer is sanitary, not sterile.
Any contaminants that may have made it into the fermenter will be outperformed and suppressed by yeast growth.
Ultimately a serious infection will ruin a beer, but miniscule contaminates do make it in.
A healthy pitch assuages this risk. - Plastic fermenters while clean and sanitary, often have a large headspace and can allow O2 to penetrate.
This is a slow process.
Nevertheless, keeping respiration short and creating CO2 will limit O2 contact.
Risks of slow or underpitched yeast
If pitched dry, and the temperature is not optimal, below 58˚ F (14° C) the yeast will grow very slowly.
It could take 18 – 24 hours to multiply.
It never respires properly yet does begin fermentation.
However, this is like an athlete playing with an injury.
It cannot perform and can create off-flavors and prematurely flocculate.
It settles on the bottom to rest as it was never ready to ferment to begin with.
- This is an ugly situation. It produces a lovely little inconvenience named Acetaldehyde.
- Here are but a sample of the flavors added to your beer: green apples, squash-like, latex paint, rough (as if sandpaper was a taste).
Acetaldehyde is produced by yeast during fermentation as a precursor to ethanol, hence its presence when the yeast is underpitched and struggling to start.
Lastly, and worth mentioning is the famed banana flavor, otherwise known as Isoamyl Acetate.
While desirable in German wheat beers, it is unwelcomed in most styles.
Stressed yeast will make beer taste like bananas!
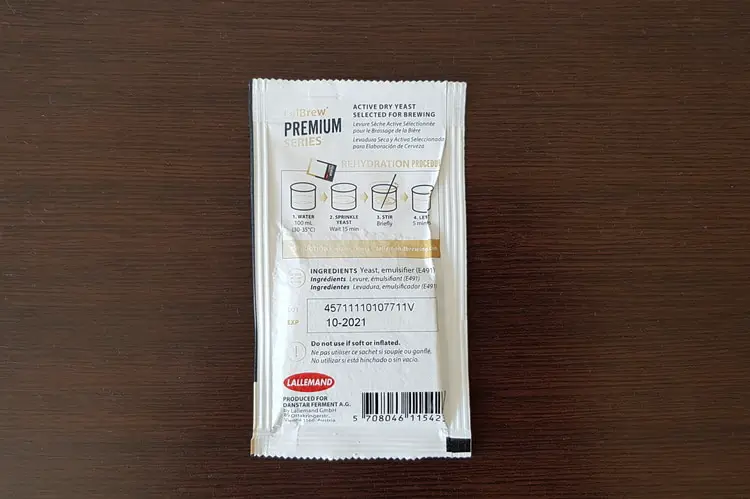
How to hydrate your dry yeast
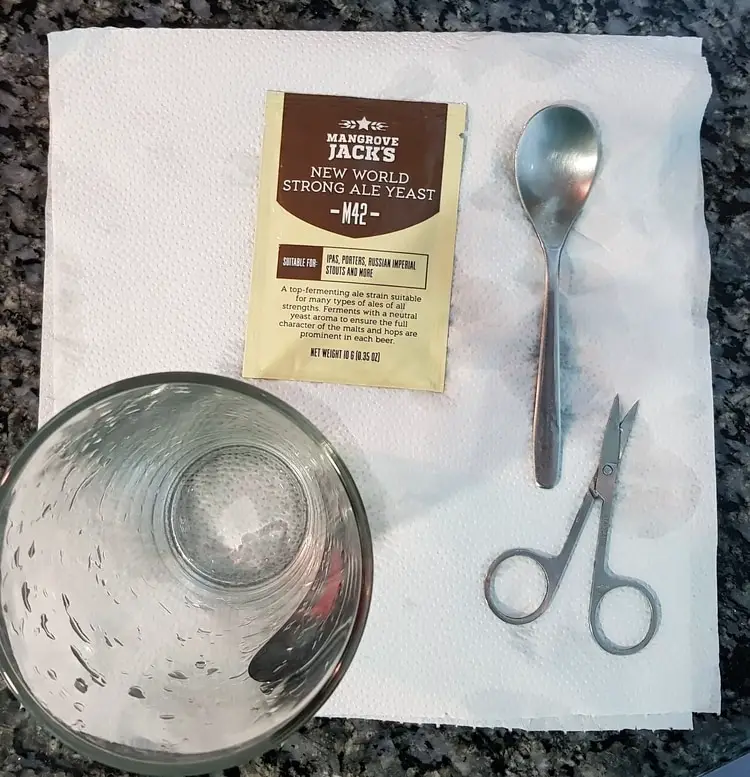
- Boil a ¾ cup of water for 5m. Cool it down to 100˚ F (37° C).
- Pour it into a sanitized Pyrex measuring cup, or heavy glass. Add the packet of dry yeast and cover it with plastic wrap. Store in the fridge. You can do this while the wort is boiling: 15 – 30 minutes.
- Pull out of the fridge as the wort cools.
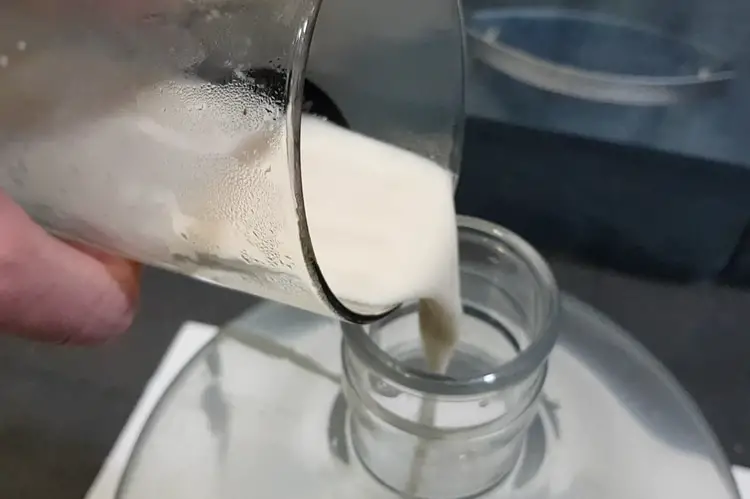
- When the wort cools to 62-64˚ F (16° C) and has been added to the fermenter, gently pour in the yeast.
Little recap in this video:
Once the wort, the yeast and everything else have cooled, it is susceptible to infection.
Make sure anything that touches your cooled beer, raw, fermented, in any stage whatever has been properly cleaned and sanitized.
No need to scrub the house walls and ceilings, though maybe one time in the beginning is OK.
It takes time to develop good habits.
Start on day one.
I have learned in the hardest of ways, bacteria cannot sanitize dirt.
If any brewing tools, pots, hoses are soiled, discolored in any way, make sure they are wiped and scrubbed clean, then thoroughly sanitized.
Find a small brush and heavy nylon line (20 lb. fishing line) for cleaning inside of the hoses.
Can I reuse dry yeast?
You could, I don’t recommend it.
It is perhaps not a pure strain as it has stabilizers and emulsifiers added to give it shelf life. It may develop off-flavors if reused.
It is easy to overpitch.
Remember, liquid yeast will die if left at room temp for just a few hours.
Final thoughts on pitching
For some brewers, yeast is an afterthought, just an addendum to an otherwise well-written book.
I assure you, yeast as vital, if not more so than the malt and hops.
It may not be the plot, but it in fact represents character development.
Without character development, a book is as dry, flat, and two-dimensional as its pages.
So, with yeast under-usage or neglect, beer becomes moribund, a terrible fate!
Let us not underestimate the vital role yeast plays, no matter its ease of use.
[email-subscribers-form id=”2″]