
There were two reasons I got into brewing.
I wanted premium beer and wanted to save money.
First came the passion. I loved beer and could not discover new ones nor absorb knowledge fast enough.
Secondly came the economics. I was a 3rd-year college student, living off-campus and working part-time.
Saving money in homebrewing is easier said than done. It takes independence and advanced planning. Without sacrificing quality, these tips shave dollars off of six-packs. From ingredients, buying habits and brew hacks, economizing beer making is not only practical, but wise.
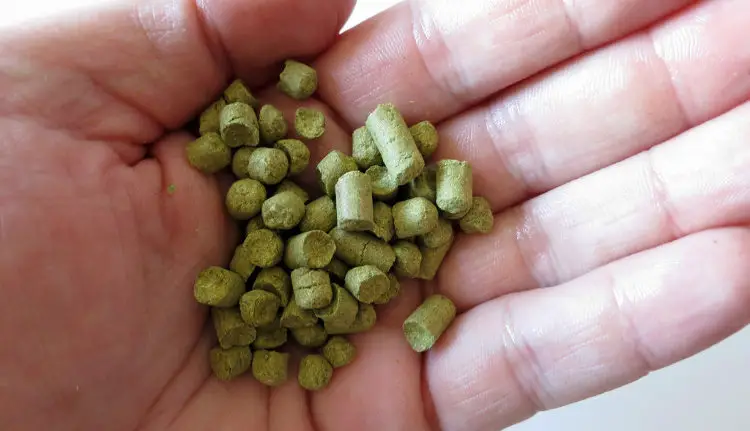
1. Use high-alpha hops
Personally and professionally, I mostly used lower-alpha noble hops.
These hops give a floral spiciness hard to replicate with some American domestic varieties.
They are of European origin and have kept the strains pure for centuries.
The originals are Saaz, Spalt, Tettnanger and Hallertau, although other European varieties may be included, both English and Belgian.
They average 2.5 – 4 % alpha.
They are specifically tied to terroir: soils mineral content, climate, and cultivation techniques.
They are expensive.
The industry has since bred many high-alpha hops that bitter to optimum effect.
Nugget, Galena, Centennial, and many others average 10 – 15% alpha acid and are in many cases cheaper.
Do not sacrifice quality.
Yet a pale ale lover can get a nice bittering profile for a fraction of the price.
I do not suggest throwing out all of your lower alpha hops: for example in a recipe replacing 10 grams of 5% alpha by 5 grams of 10% alpha.
If one brews the more bitter ales -Pales, IPAs and Americans, European hybrids- you can replace some of the bittering hops.
So, substitute 5 grams of lower alpha with 2-3 grams of higher is suitable.
In my professional experience, there was one high-alpha hop that had some nice floral and taste characteristics.
It was Columbus / Tomahawk. It was one of the few I liked a lot.
2. Reuse yeast
I will close my eyes and cover my ears as I say this.
Dry yeast is cheaper so use dry yeast.
OK, now that I said it, do not listen to me on that account.
Liquid yeast is the one and only way to go.
It costs $2 – 5 more than dried yeast, but the quality is exponentially better.
Read here about my debate Dry yeast vs Liquid yeast: Which one for homebrewing.
I will explain why liquid yeast can be cheaper.
You can reuse liquid yeast once or three times if you handle it well.
Dry yeast could be reused but run a higher risk of over-pitching and bringing autolyzed or dead cells into your fresh beer.
With liquid yeast the risk is less.
Here is the trick.
When you rack the beer into secondary fermentation, do not use a filter tip on the tube.
Rack off about 80% of the beer and then jam the tube down into the middle of the slurry.
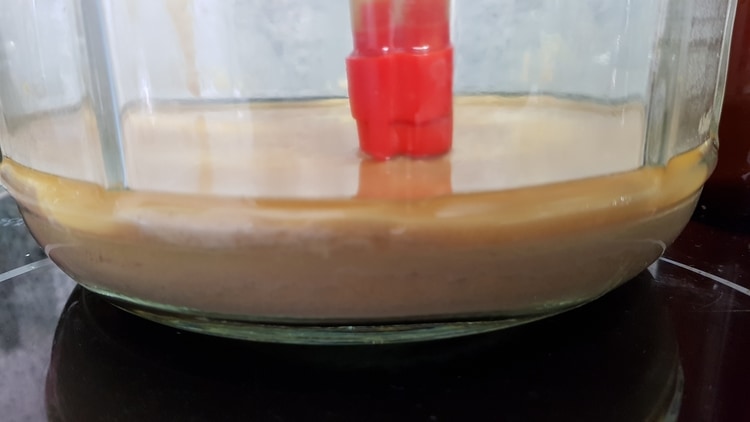
Draw about 3 – 5 ounces of fresh slurry.
I used an 8-ounce Coke bottle.
Cap it and use again within one week.
If conditions are right and the second batch works well, you may use it again.
I would say three times is the limit for homebrewing.
3. Use well water or filtered water
Many brew in towns or cities with municipal water.
The water is good but chlorinated; bad for the beer pH.
If you have a carbon filter in your house, collect your brewing water here.
You save the cost of buying spring water.
I lived in the countryside with 250 foot-deep well.
The water had a little granite in it but otherwise very clean and pure.
I brewed with it, even adding tap water straight into the fermenter during the early days of extract brewing.
If it tastes good, use it.
I would recommend getting a new tip for the spigot or cleaning and sanitizing it very well on brew day.
Also, the kitchen sink spigots also have aerators, so this will add O2 to the water before use, a necessary nutrient for yeast respiration.
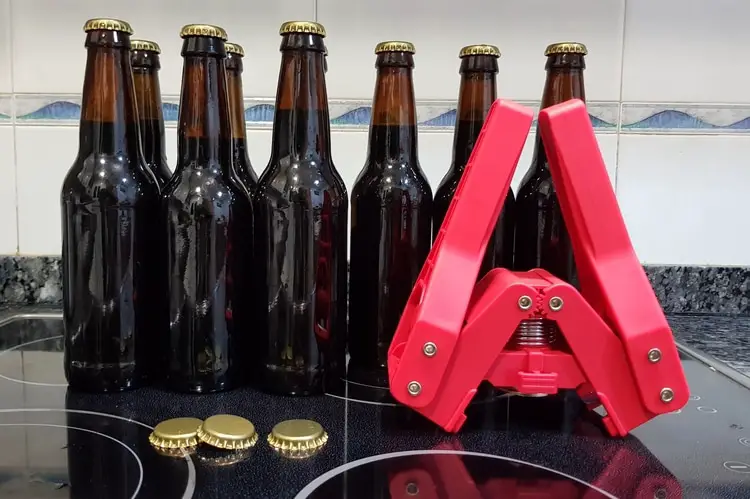
4. Use recycled bottles, sanitation
Homebrew suppliers, Walmart or Amazon all sell bottles, and you may or may not buy them often.
I never bought bottles, not one time.
I even had 1 or 2 local bars save Grolsch and Fischer bottles for me.
If you don’t drink enough to save your own bottles, it is easy to find a bar that will gladly give you all you want.
Elbow grease and bleach will make them as good as new.
Bleach as a Sanitizer
Bleach is a slow killer and needs time to work.
It can take 15 – 20 minutes of contact time to properly sanitize.
Find a large vinyl storage bin, submerse your clean bottles in a bleach solution for an hour or two.
Rinse and scrub the gunk out of them first.
You also must rinse bleach.
However, it costs pennies compared to brew shop sanitizers, where you could easily spend $1-2. on bottling day.
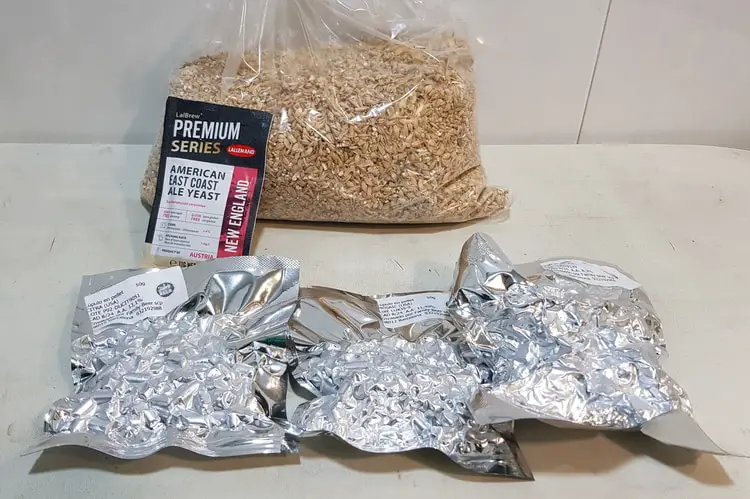
5. Use bulk Malt Extract, instead of “brewers extract”
Experiment with this.
I liked my results.
I would buy liquid malt extract by the pound from the local food co-op.
Technically, it is “B grade” malt, suitable for cooking and baking, used for cereal, cookies, Ovaltine, things like this.
However, it costs about 65%, give or take a little, of the price of commercial grade brewers malt from a homebrew shop.
6. Use sugar to supplement malt when brewing High-Gravity beers / Intensely Bitter beers
Here’s one from the ale masters themselves, the Belgians.
I consider Belgians brewing philosophers. They create the rules as they go and are constrained by few style guidelines.
Innovation is considered strength in the most hyper-competitive beer market in the world.
When brewing high-gravity, and your OG is 1.080 or above, using more malt is considered a waste.
Use sugar.
Dextrose, candi sugar, brown sugar or even honey.
Your malt profile is so pronounced at this point, it is a waste of money to use more malt when sugar will add the required fermentables at a fraction of the price.
If you are brewing an Imperial IPA or Porter, this is the case even more so. Intense hop profiles and dark malts will define the character of the beers.
Adding more malt to beer this strong serves no purpose.
7. Go ½ and ½ or All-Grain as fast as you can
Brewing all-grain or making the step to partial mash brewing is covered elsewhere in detail. See 6 vital tips for a journeyman.
All-grain brewing does take an initial investment.
½ – ½ brewing however takes a minimal investment, and the money could be recouped in as little as 1 – 2 batches.
Looking ahead a little:
In brief, All-Grain equipment needs (estimates):
- 30 – 50 quart Cooler, tight seal – $50
(if you install a valve on the cooler, a simple brass ball valve with a nipple, it can double as you hot liquor vessel) - a single or double copper coil chiller – $40
- a grain mill (Corona) – $50
- A good sparger (sprinkler system for the mash) – $40
- a tripod propane burner (outside use) – $45
- Misc, hardware – $35
- 7.5 – 15.5 gallon kettle – $60, or salvage a keg and cut the top out
Shop around, buy used, or build your own.
There are many options.
A brewer does not need all of the above when beginning ½ – ½ brewing.
It can still be undertaken in the kitchen.
In brief, ½ – ½ equipment needs (estimates):
- A smaller 5 – 10 quart cooler – $20
- homemade sparge device – salvage
- vegetable colander or some sort of straining device; preferably wide and shallow
- a grain mill (Corona) – $50 (for just 3-5 ibs., your local shop owner may crack the malt for you)
- Misc, hardware – $15
- 5 – gallon SS kettle – $30
A Pale Ale with an original gravity of 1.048 may take say 6.5 pounds of malt extract.
The same beer would take 5 pounds of barley malt and 3 pounds of extract, and perhaps dash of brown sugar.
Barley malt is 30% the cost of malt extract.
Breaking down your batch of beer, ingredients and packaging
| Ingredient | Cost *estimates only | Alternative | Costs *estimates only |
| 7 lbs. Liquid extract | $25.00 @ $3.60 lb. | 5 lbs. barley malt, 3.5 lbs. bulk extract | $6.00 barley/ $10.50 ext.
(buy bulk whole malt AND extract at discount) |
| Noble hops, imported, 4 % alpha: assuming 20 HBUs | $12.50 @ $2.49 an ounce. | High alpha to bitter 12 %
US varietals for flavor |
1.5 oz. high alpha:1.5 oz. lower
$6.00 |
| 6 gallons of Bottled water | $5.00 | Filtered or well water | / |
| Liquid or Dry yeast – single usage | $5.99 | Liquid yeast 2-3 pitches | $4.00 |
| Buying new bottles | $15.00
($43.98 / 48 bottles good for 3 batches; lost to gifts and breakage) |
Use recycled bottles | / |
| Caps | $1.50 | Pop-stopper bottle grommets/ caps | $1.50
(grommets good for at least 6 batches) |
| B-Brite, Shop sanitizer | $1.50 | Chlorine bleach or iodophor | $.010 |
| Total | $66.00 +/- | $28.10 | |
| Cost per bottle | $1.40 per bottle | $.058 per bottle |
Budget for the future
We live in interesting times. (observing the social and political milieu that is the United States)
Now is a good time to consider brewing your own beer on a budget.
Times will come again to brew that authentic Continental ale with all imported malts, low-alpha hops, and a high-gravity to boot.
For now, consider the tips above.
They were all practiced by me in some fashion or another for a grab bag of reasons, not least of which I was 23 and needed to save money.
The curiosity, adventure and process were fulfilling all the same.
[email-subscribers-form id=”2″]