For the avid or amateur homebrewer, storing your brewed goods in a growler may seem like a quick and convenient idea. They can store the volume of several smaller 12 or 16 ounce bottles, saving time and effort. However, you will need to be careful with the type of growler you use and use a strong capping method.
Homebrew beer can be bottle in a growler with proper sanitation methods and if using a strong cap to withstand the increasing pressure in the growler as the beer builds up carbonation.
Growlers can hold much more than a traditional beer bottle, but as with any bottling process with homebrewing, planning ahead will help minimize the risk of contamination or bottle-bombs.
I’ll explain what equipment you’ll need to bottle your brew safely in a growler.
Bottling: Regular Beer Bottles VS Growlers
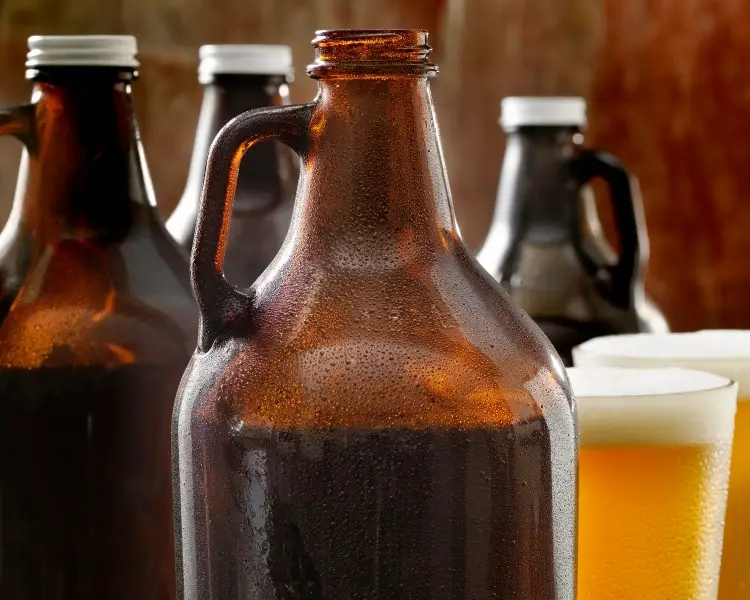
A standard growler is a bottle or jug used to transport and store beer and is usually made of glass, stainless steel, or ceramic.
These growlers are great for storing beer that is already finished with fermentation and bottle conditioning and therefore have a stable pressure.
Most people use growlers filled with their favorite brewery’s tap to bring home.
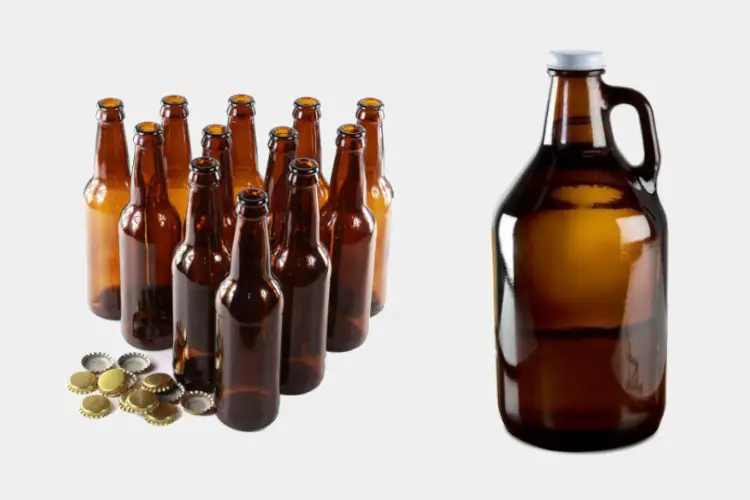
When new homebrewers start bottling five-gallon batches, they may get easily daunted by the task of collecting, cleaning, sanitizing, then bottling and capping dozens of bottles.
Odds are, they may have a few growlers sitting around from their favorite breweries and wonder if they might be able to bottle in larger growlers than dozens of bottles.
However, bottle conditioning, or carbonating, a beer in a growler can be difficult.
The carbon dioxide responsible for carbonating the beer also creates pressure in the bottle.
In a regular growler, this process could potentially cause an explosion, as many growlers are not specifically designed to withstand the increased pressure from carbonation.
For example, regular beer bottles are able to handle the estimated 30 to 35 pounds of pressure created during the conditioning of the beer bottle.
Growlers that have thick or strong walls may be able to withstand the pressure of carbonated beer.
Typically, the weakest point in the growler is the cap, which usually screws on to the top.
Compared to a regular beer bottle, these caps cannot handle the pressure created by carbonating beer.
Some growlers may even be made with thinner material compared to the volume of beer inside, which may withstand even less pressure.
If you’re not afraid of exploding growlers and a plethora of beer to clean up, I’d say go for it.
Bottling homebrew in a growler is a tedious process, so there might be some experimenting required before you get the result you were hoping for.
Chances are, you won’t be successful on the first try, but hopefully, you have plenty of growlers to use, right?
Recommended Gear
If you want to bottle your homebrew in a growler, you’ll need to start with the right equipment.
Make sure you have heavy duty growlers with thick walls.
You’ll also need a high pressure rated cap.
Try a thick glass growler with a swing top, such as the 2 Liter Growler from Northern Brewer.
Many homebrewers enjoy bottling in swing top bottles and growlers as the caps are reusable as long as the bottles and tops are properly sanitized.
Some manufacturers sell special caps that help regulate pressure in your growler to ensure that the internal pressure doesn’t exceed the maximum pressure the container can hold.
This cap from Craft Works is designed to maintain a maximum of 20 psi.
If you would rather have a more standard type cap, make sure that the caps are strong and thick, capable of getting a good seal, such as this Premium Cap from MoreBeer.com.
Finally, you will need food grade sanitizer and, if desired, a growler cleaner and brush.
Most homebrewers prefer Star San in a concentrate, enough that kits can be found that have the sanitizer and spray bottle at once.
How to Bottle Homebrew in A Growler
Here are a few steps to follow when bottle conditioning with a growler:
- Make sure you have enough growlers. Growlers typically come in 32 or 64 ounce containers. A five-gallon batch of homebrew contains 640 ounces, so you’ll need about (10) 64-oz growlers, or (20) 32-oz growlers.
- Sanitize all your equipment. Many growlers, especially those good for bottle conditioning, have narrow mouths. Try submerging them in a 5-gallon bucket of sanitizer one at a time, then emptying them out. Or, use a spray bottle of sanitizer and roll the growler around to make sure all the surfaces are well covered. Be sure to include the tube you use to rack your brew from the fermenter into the growlers, as well as the swing tops or caps you plan to use.
- Siphon or rack your homebrew into each growler, leaving adequate headspace in each one. You can rack just by using a single food grade hose, but to make the process easier, consider using a spring loaded bottle filler and even an auto siphon (of course, sanitizing both if you use them).
- Secure each swing top or cap in place. Be sure not to touch the inside of the swing top or cap that is exposed to your beer.
- Store your growlers in a dark place, away from sunlight, which can oxidize your brew and cause a skunky taste. Also make sure that the temperature doesn’t fluctuate dramatically, as higher than ideal temperatures for your brew can cause overactive yeast, which can overpressure your growlers, causing them to explode.
- Consider storing your growlers in another container, such as a large plastic storage container, which could eliminate messy clean up if a cap bursts or the bottle breaks.
With enough planning and the right equipment, you definitely can bottle your homebrew in a growler.
However, if you just use any growler and reuse a cap you picked up along the way, you may not experience the best results.
Alternatives to Bottle Conditioning in a Growler
In lieu of bottle conditioning in a growler, consider a few other options that are similar in size to the growler.
For example, GrowlerWorks uKeg pressurizes the contents with a CO2 cartridge, so that you don’t have to wait for fermentation during bottle conditioning to carbonate your homebrew.
No products found.
As soon as fermentation is done, instead of racking your homebrew into individual bottles, adding priming sugar, capping, and waiting, you can rack your homebrew into the uKeg. In only a couple minutes, you can start dispensing from the uKeg.
Similarly, mini kegs make it easy to keg your homebrew.
While the same 64 oz Premium Draft CO2 Keg System from Keg Smiths looks a little less transportable, this keg takes larger carbon dioxide cartridges that can pressurize your brew higher or longer than the uKeg option.
Here are the mini keg dispensers that sell the best on Amazon:
No products found.
Conclusion
Many new homebrewers do find the process of bottling into individual bottles a time consuming and expensive process, trying to buy or recycle enough bottles for an entire five gallon batch of brew.
By conditioning in growlers, brewers can reduce the number of bottles they have to use, but with a wide range of keg and growler options, brewers can save time and get to drinking much sooner.
Last update on 2026-07-30 / Affiliate links / Images from Amazon Product Advertising API